My Custom 3D Printer
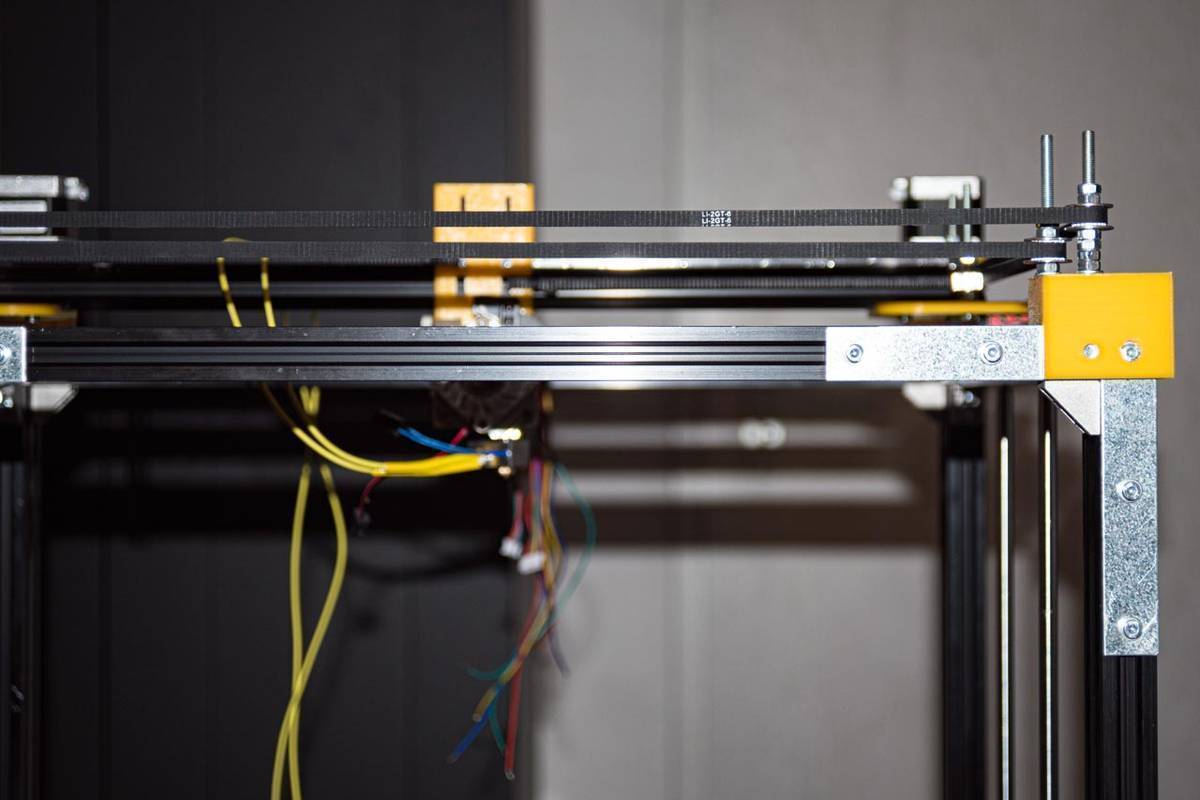 Intermediate step in the build process, showing the stabilized frame and custom-designed mounts and axis components.
3D Printing
3D printing is incredibly useful for rapid prototyping. After building three 3D printers, it still fascinates me how you can transform an idea from your mind into a tangible object. You design it as a CAD model and, after a few hours of printing, you can hold it in your hands, touch it, feel it, and use it for its intended purpose. It’s incredible.
I’ve built two 3D printer kits before designing and constructing my own custom 3D printer, which I will showcase here.
The first printer I built was a not-so-cheap Prusa clone in 2014. Building such kits is generally straightforward, but despite its cost, it had major issues like a shaky printing surface, no heated bed, a small form factor, and it was very loud.
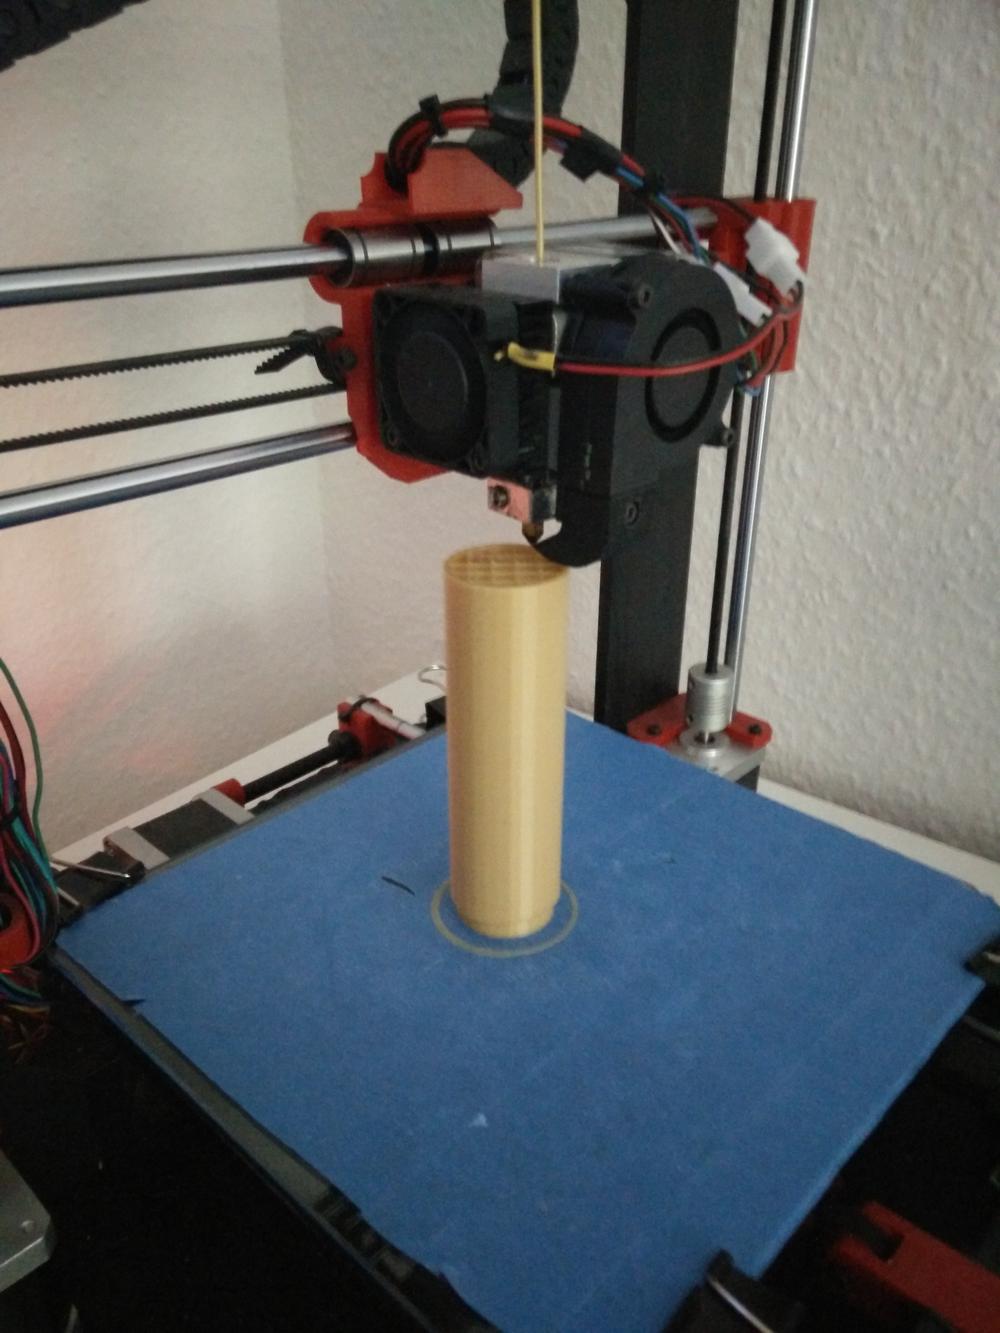 My first 3D printer
Building a Self-Designed 3D Printer
Two years later, I bought a cheap but large CoreXY printer from China. The frame was quite unstable, and it had many of the same problems as the Prusa, plus issues with the printing head and a heat bed that was too cold for its size. I decided to use most of the frame, strengthen it, and incorporate completely different custom electronic components and mechanics.
General Build Plans
- Start Simple and Upgrade: Build a minimalistic printer with high-quality parts first, then upgrade. Starting with a too complex project can be overwhelming and demotivating. A 3D printer without a heated bed, bed-leveling, and a camera is already complex enough, so I began there.
- Open Source Controller: I chose an Arduino Due controller and a RADDS extension board for controlling the printer. Both boards are open source and suited my plans well.
- OctoPrint on Dedicated Raspberry Pi: This setup is very convenient. The Raspberry Pi, mounted on the printer, sends print commands to the Arduino Due controller, eliminating the need for a PC. You can upload models via a web interface, change parameters easily, and monitor prints with a camera attached to the Raspberry Pi.
- Dedicated Power Supply for Printing Surface: I wanted a dedicated PSU for the printing surface to ensure it had enough power to heat the large area.
- Bed Level Sensor: A bed leveling sensor is essential for large printing surfaces, which can bend due to temperature changes and mechanical instabilities. This sensor helps avoid the need to manually level the surface before every print.
Parts Design
I used OpenSCAD, a free CAD program that lets you code your models, for designing parts for the build.
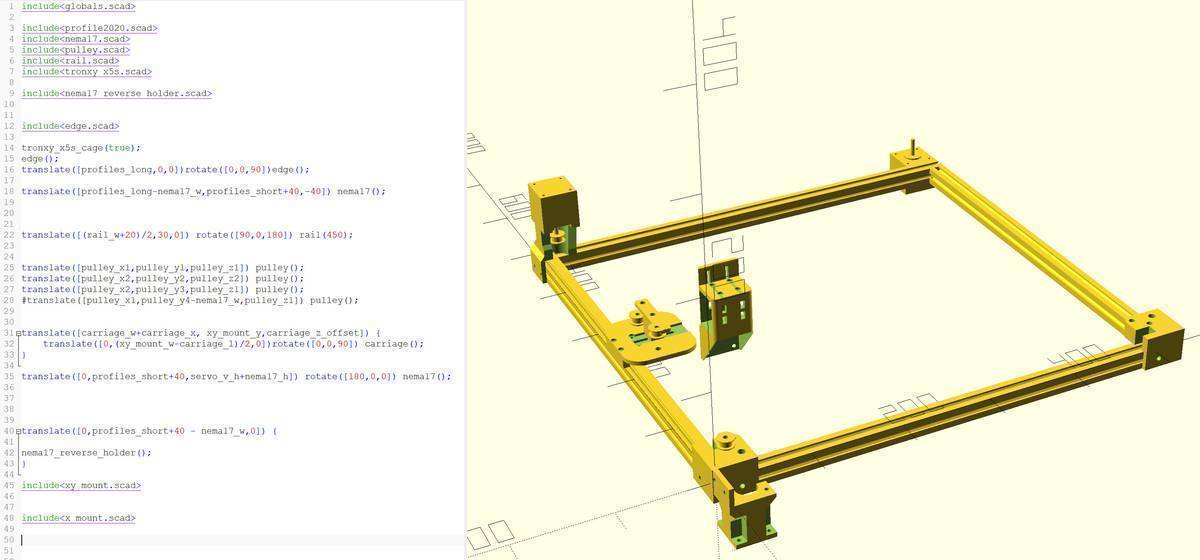 Parts designed for the printer to fix the frame, mount the pulleys, and the printing head carriage.
Build
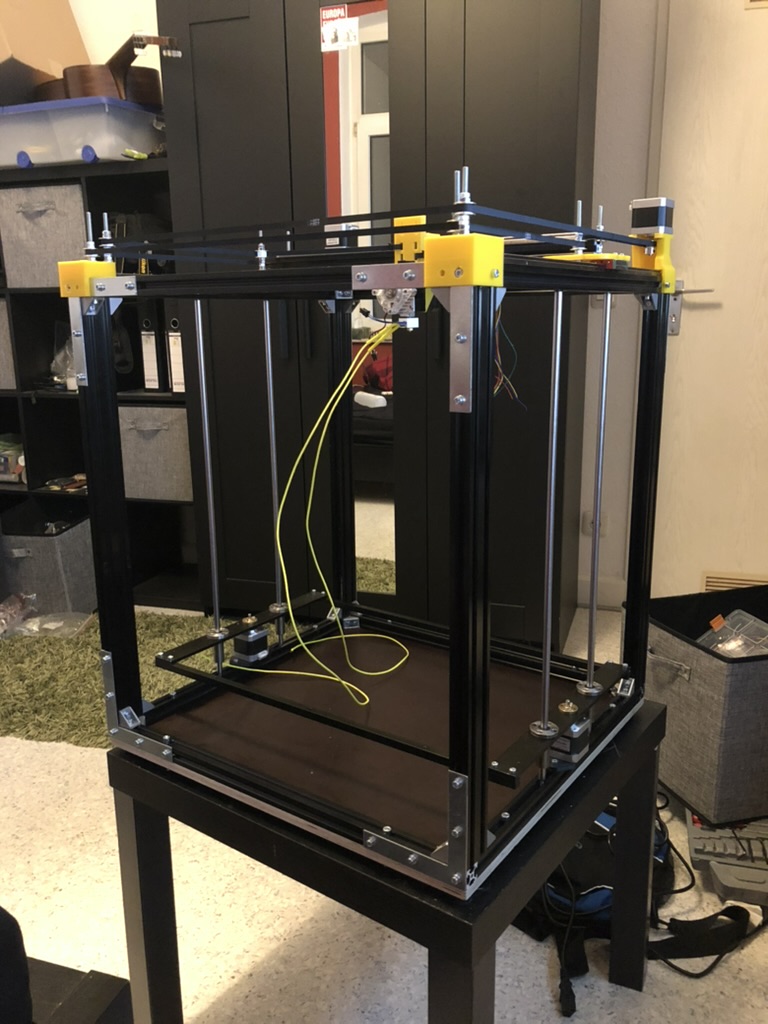 Stabilized frame with custom components for the XY-axis.
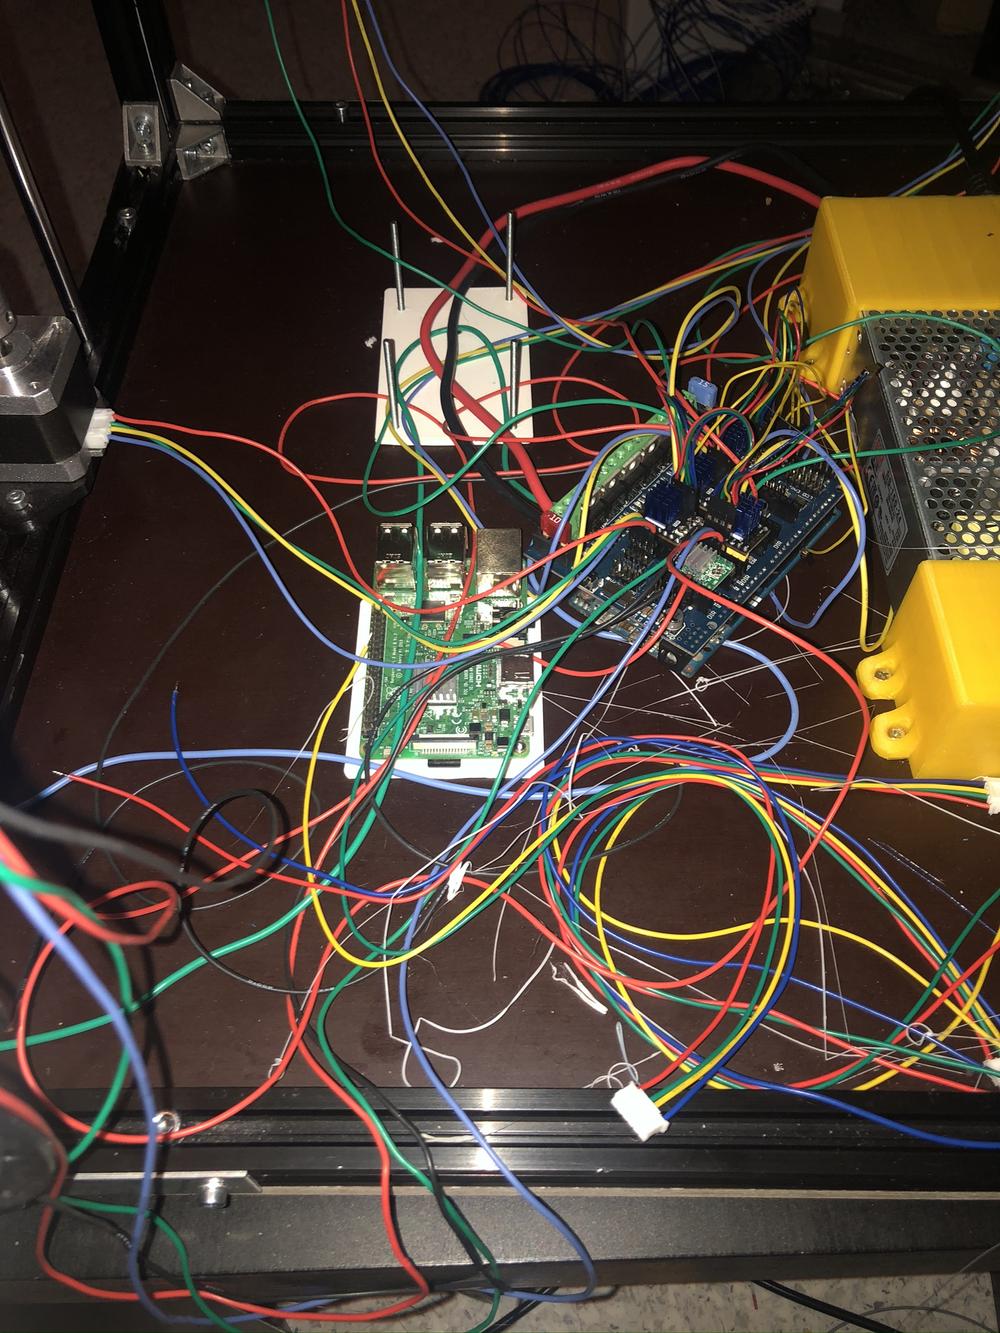 The electrical installation – the usual mess.
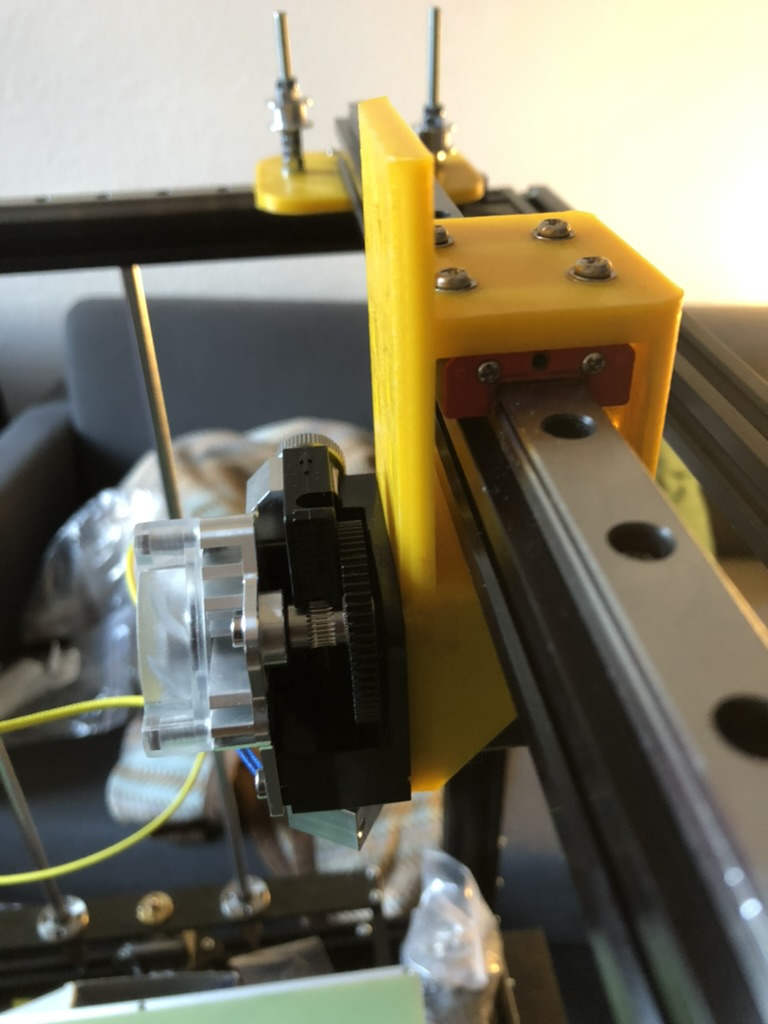 X-rail and custom head mount design.
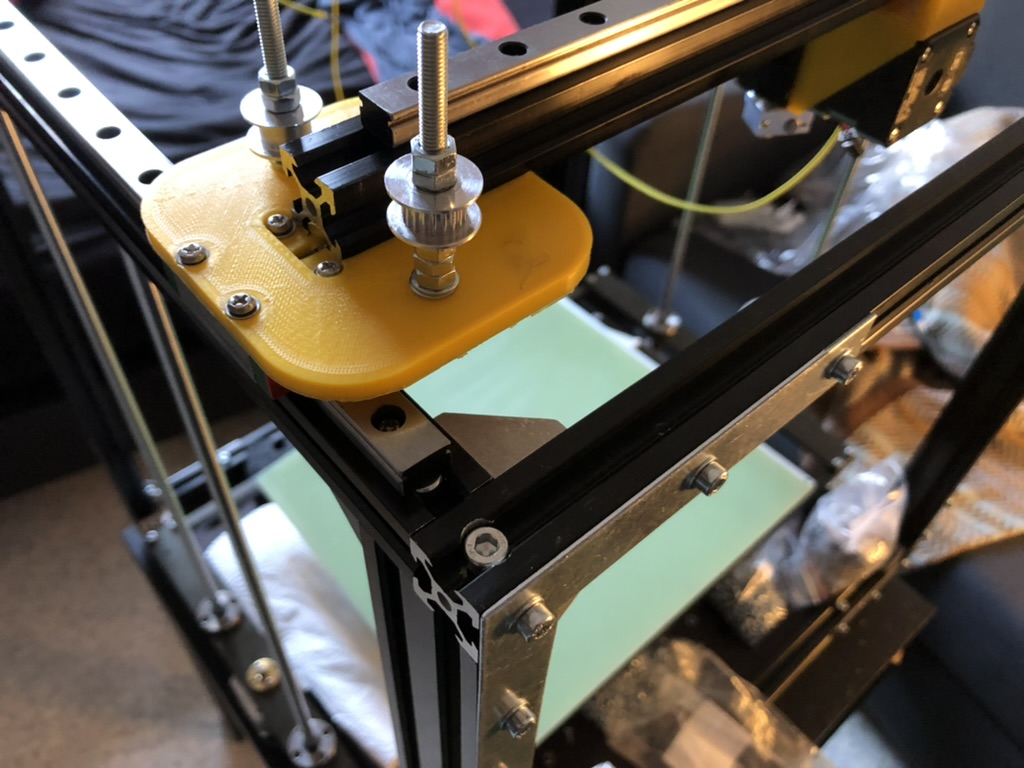 Y-axis custom design.
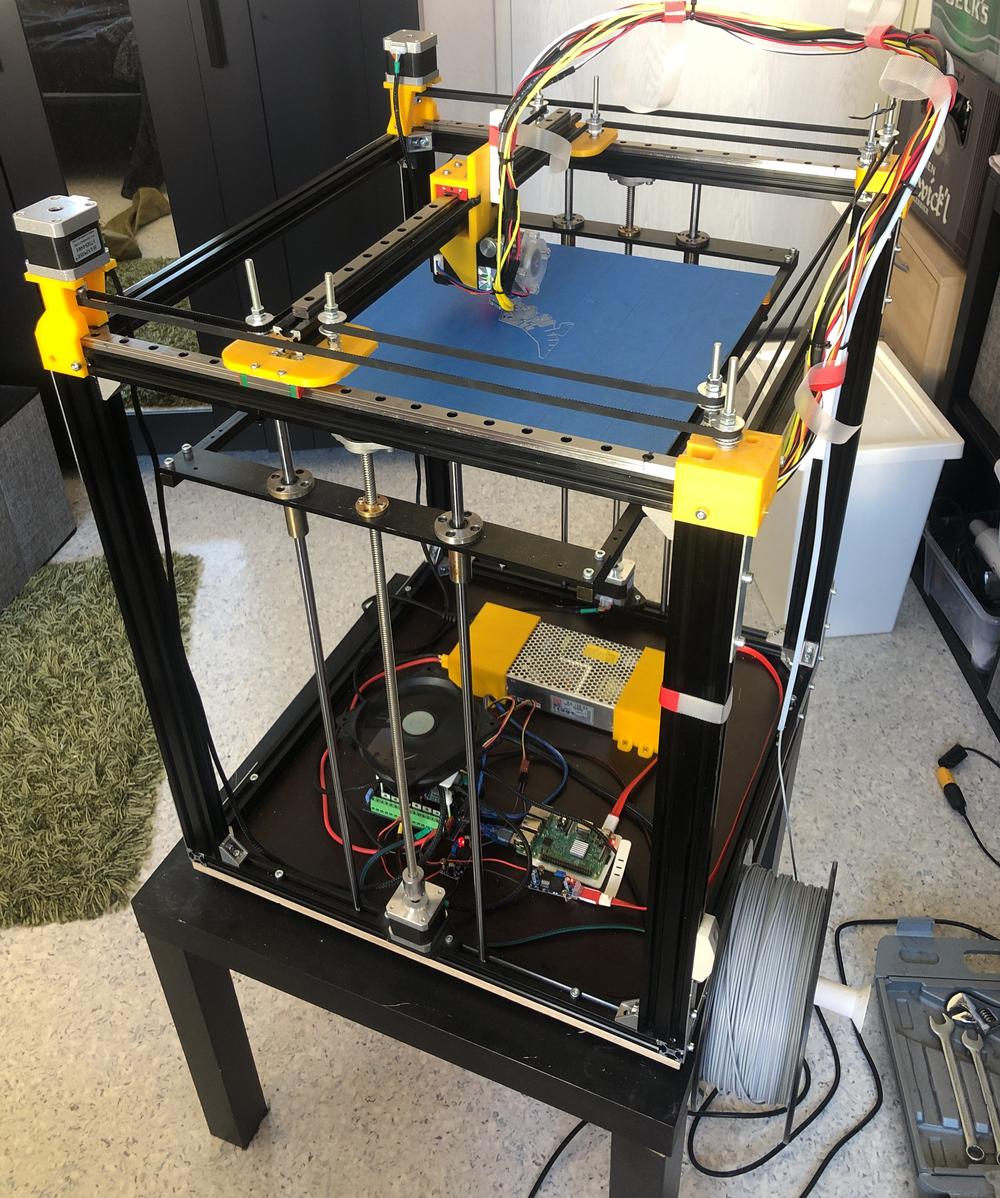 The printer in its almost-finished state (spoiler: it’s never finished).
Upgrades
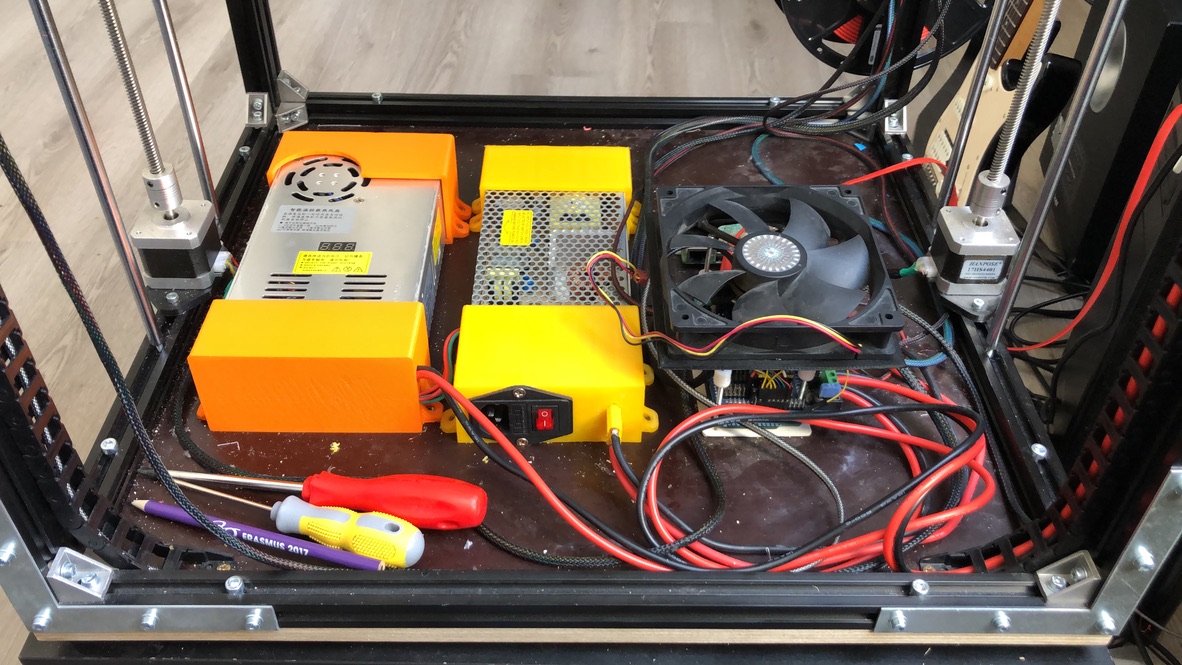 Installed a second dedicated 24V PSU for the heat bed, doubling the maximum temperature.
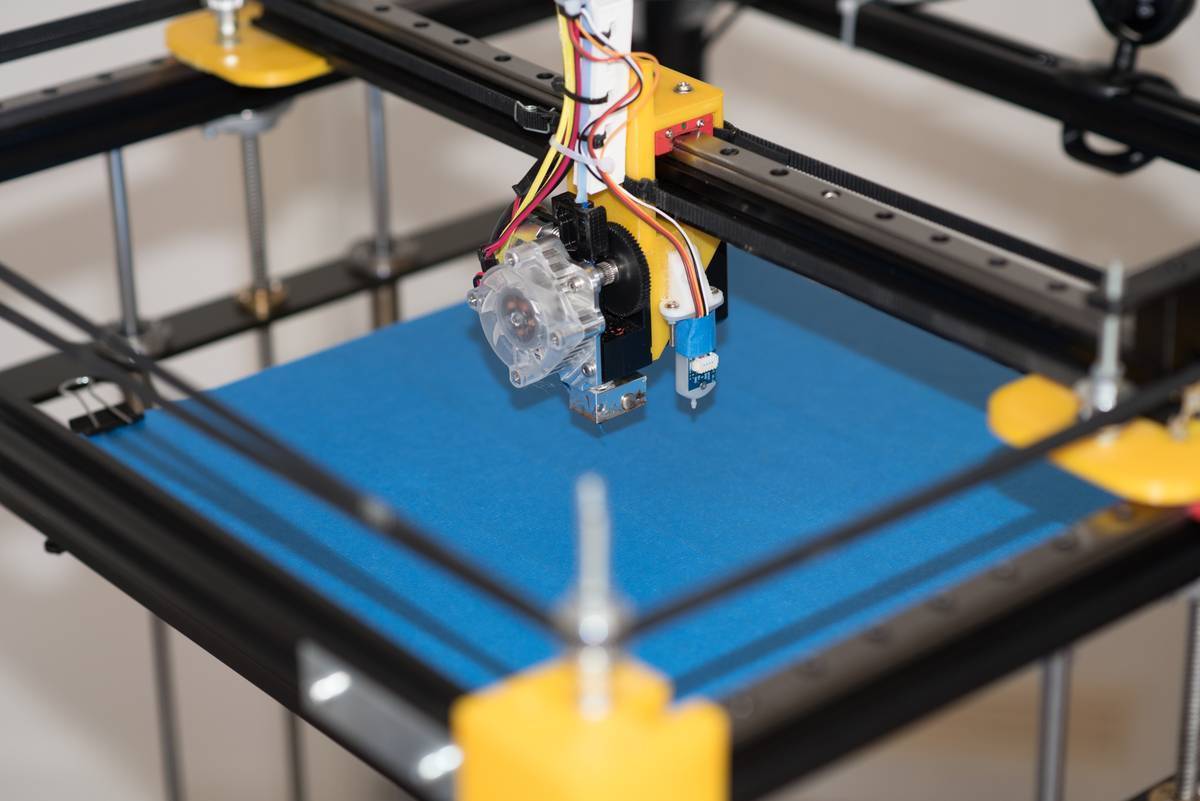 I also installed a bed level sensor – such a valuable investment!
Printing Results
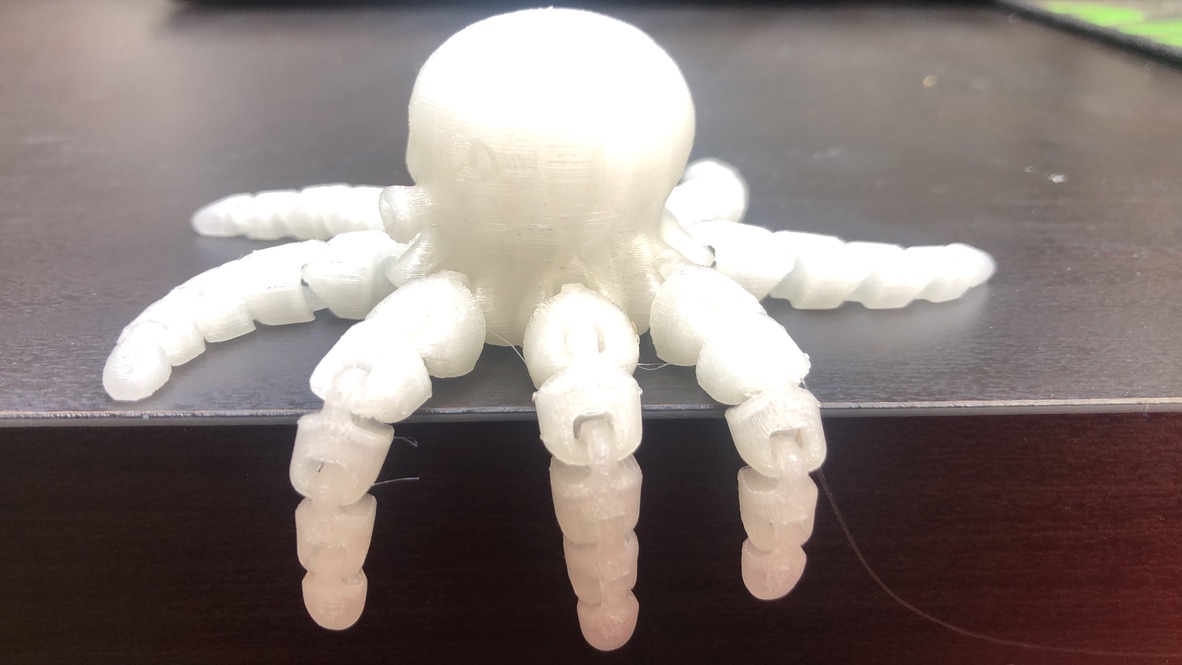
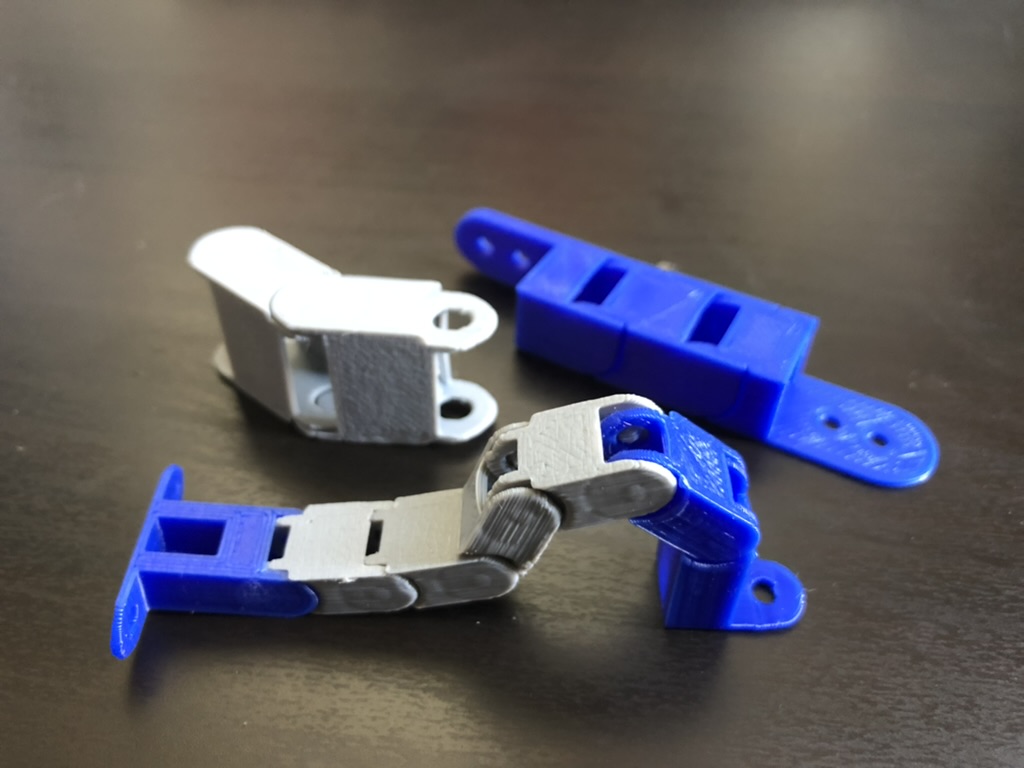
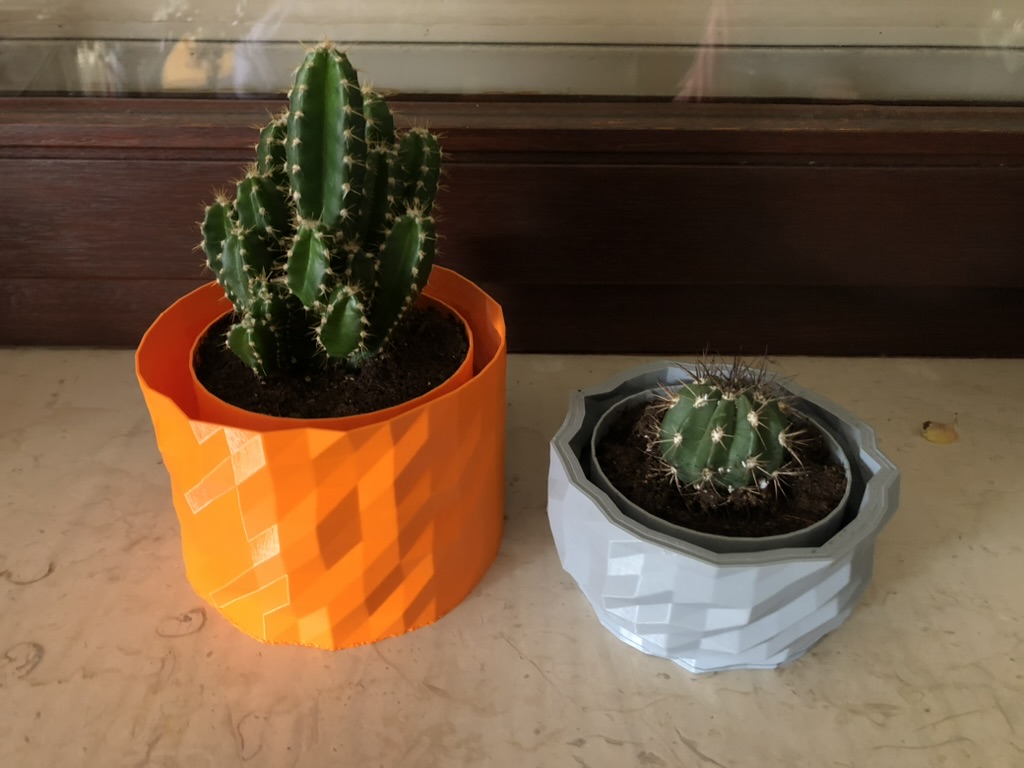
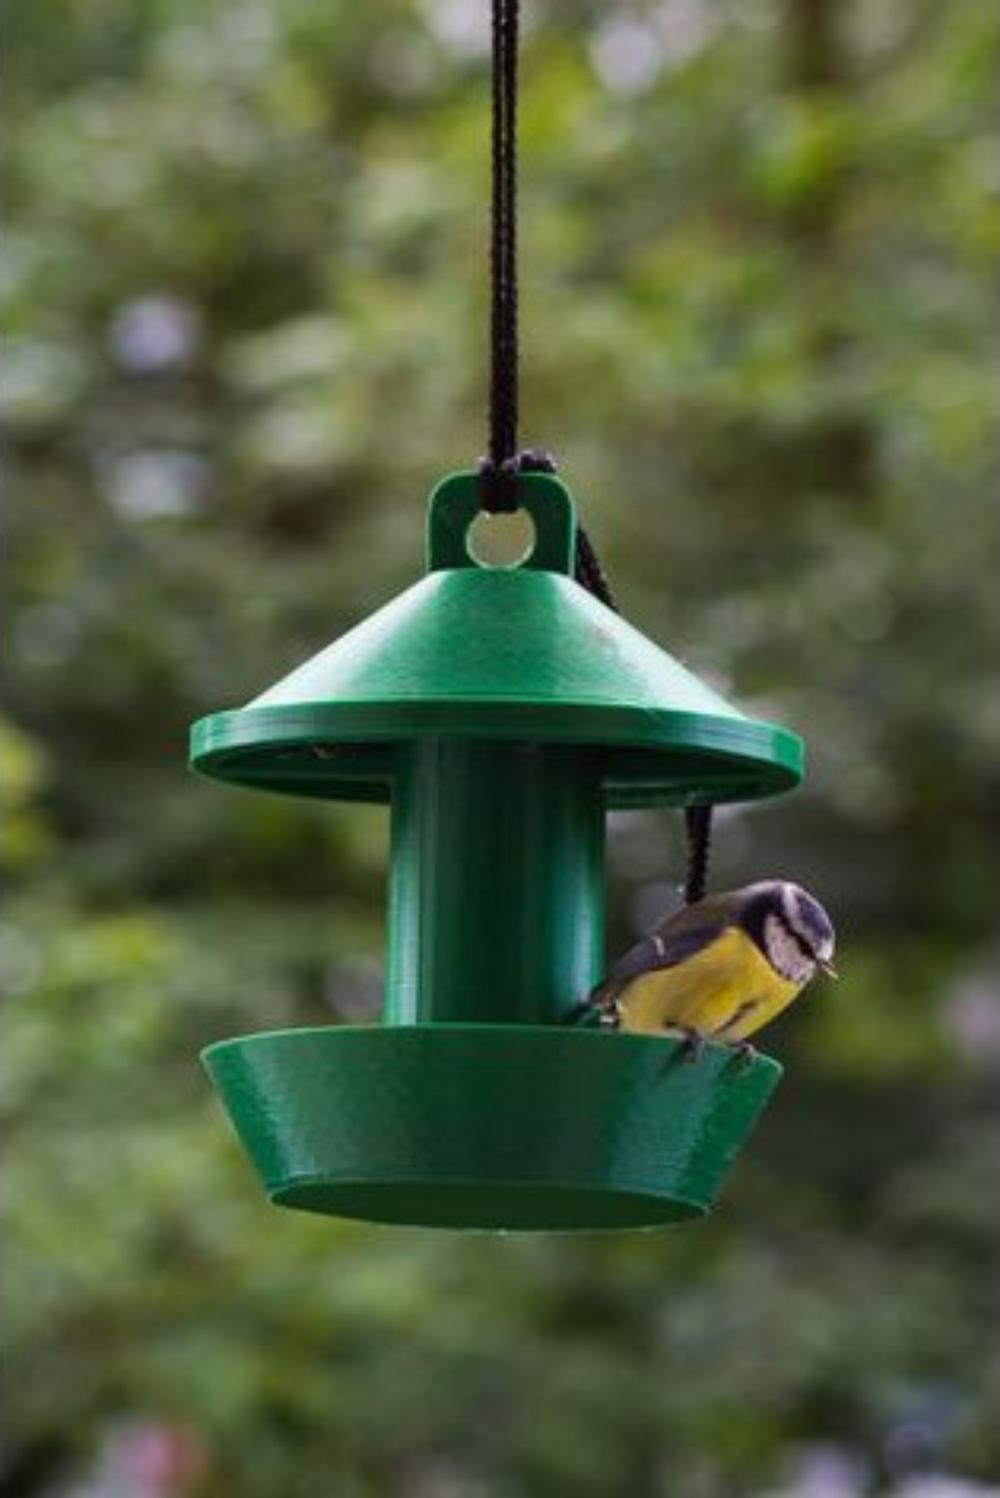
Some random print results:
Final Remarks
Building and configuring this printer from scratch was a significant project, but I am very happy with the result.
I enjoy constructing models with OpenSCAD, which is essentially a programming language for creating 3D models. These models are highly customizable and parameterized. You can check some of them out on my Thingiverse page. In my opinion, 3D printing is a fantastic opportunity for refurbishing things, but for me, it’s more of a creative tool. A painting is two-dimensional, but in 3D, an entire dimension is added. It always amazes me to transform an idea from my mind into a real-life 3D object within a few hours – the possibilities are endless!
