My Modular Analog Synthesizer
I spent a lot of time completing this build. But because it is modular and you can always find more modules on the internet that look and sound interesting, this build clearly isn’t ever going to be finished.
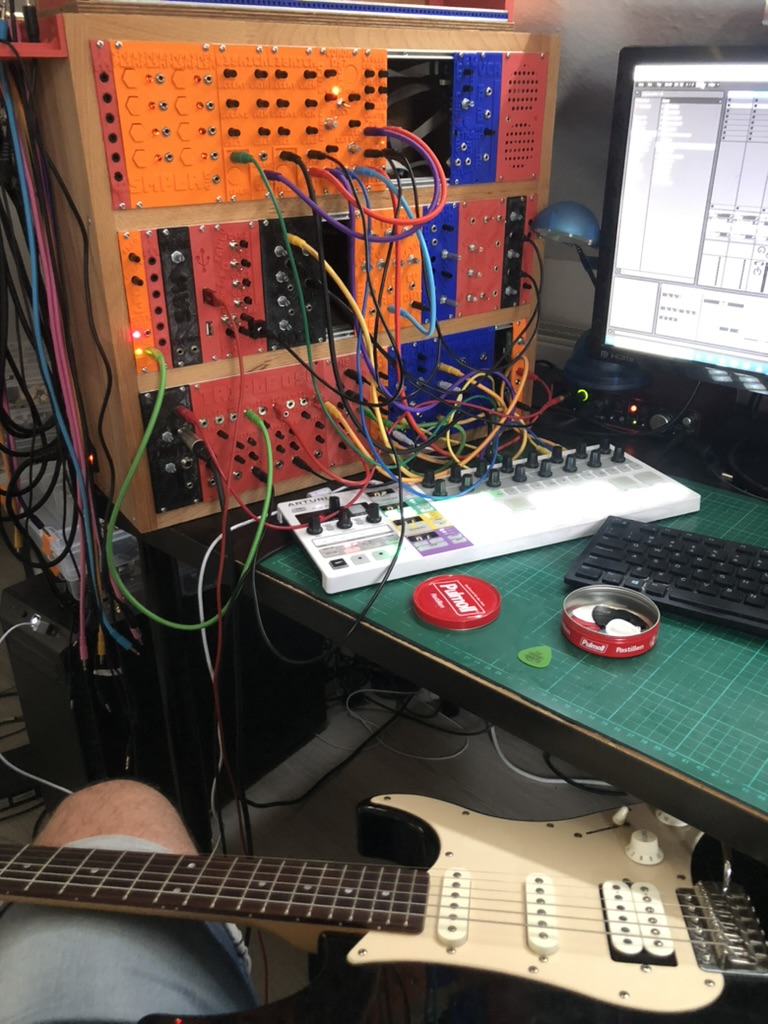 Self-built analog modular synthesizer with plugged-in guitar. It is never finished.
What is an Analog Modular Synthesizer?
An analog modular synthesizer is a type of electronic musical instrument that uses analog circuits to generate and manipulate sound. Unlike digital synthesizers, which use digital signal processing to create sounds, analog synthesizers rely on continuous voltage changes. The modular aspect refers to the ability to connect various independent modules, such as signal generators, ADSR envelope generators, and filters, to create complex soundscapes. Each module performs a specific function, and users can patch them together using cables to build a custom signal path.
Design Principles
- Eurorack format: I followed the design principles and specifications of Doepfer Eurorack format since it is the most prominent system, and I like the simple design principles. This also has the advantage that I can buy modules and just screw them into my case, and it should work.
- Self-contained instrument: I wanted to build an independent instrument. That means I have to have all modules for generating signals, ADSR envelope generators, various filters, standalone drum modules, and all kinds of utility modules for, e.g., debugging speakers, multiplexing signals, amplifying signals, etc.
- 3D printed front plates: I decided to utilize my 3D printer to print the front plates of the modules. This was a really good idea because they came out pretty well, and I can easily adapt them for my custom modules, giving the whole synthesizer a consistent look.
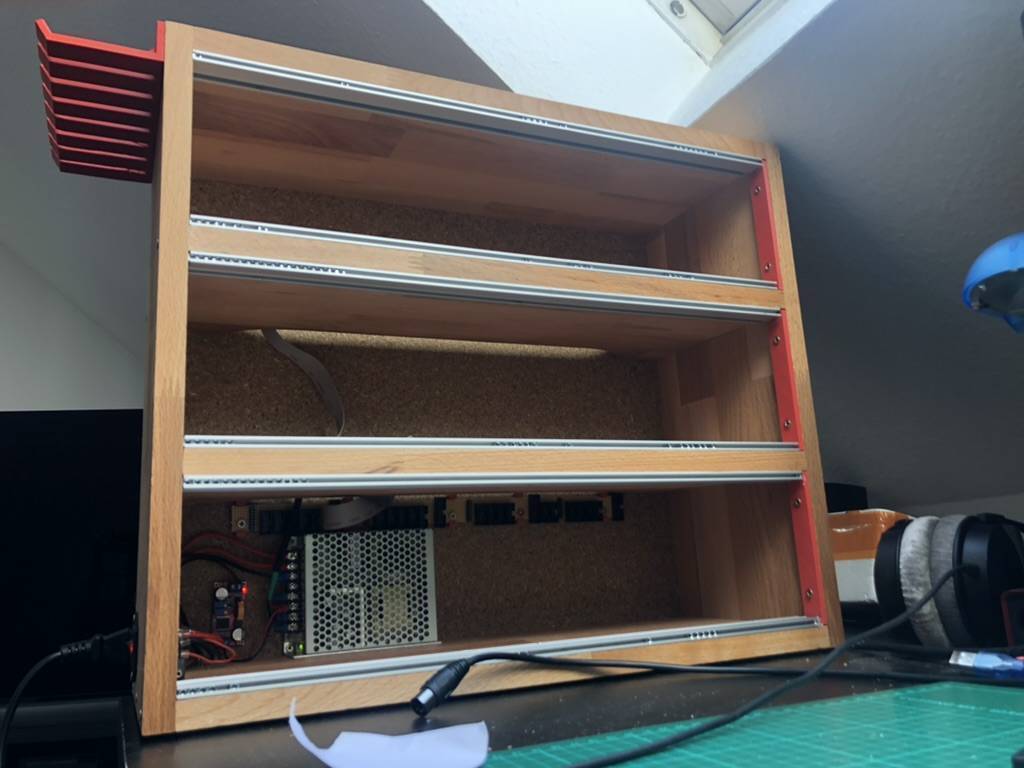 Wooden self-built case with PSU and power-rails installed.
Designing Modules
When designing modules, I either search for circuit designs online or make my own. Often, I am inspired by a design and modify it. I find it handy to use an analog circuit simulator to check how the audio waveforms will look. It is pretty accurate and enables you to modify components like resistors or capacitors to have more fitting values.
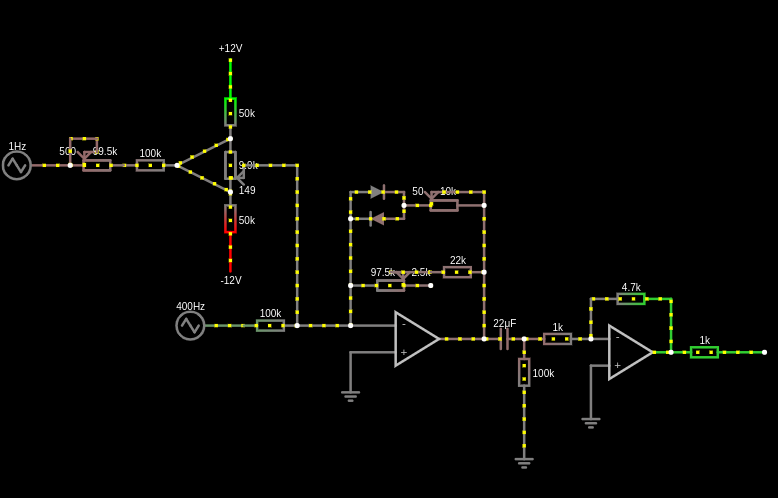 Simulating analog circuits helps find the right components.
For PCB design, I used KiCad EDA. It is easy to get into, but it does not have an auto place and route feature. However, with time, you get better at it.
For PCB manufacturing, I mostly used JLCPCB. It is affordable, and shipping is also quite fast. The quality was always satisfying. If a PCB wasn’t working, it was my design fault.
I bought electrical components from various sources. When everything arrived, happy soldering!
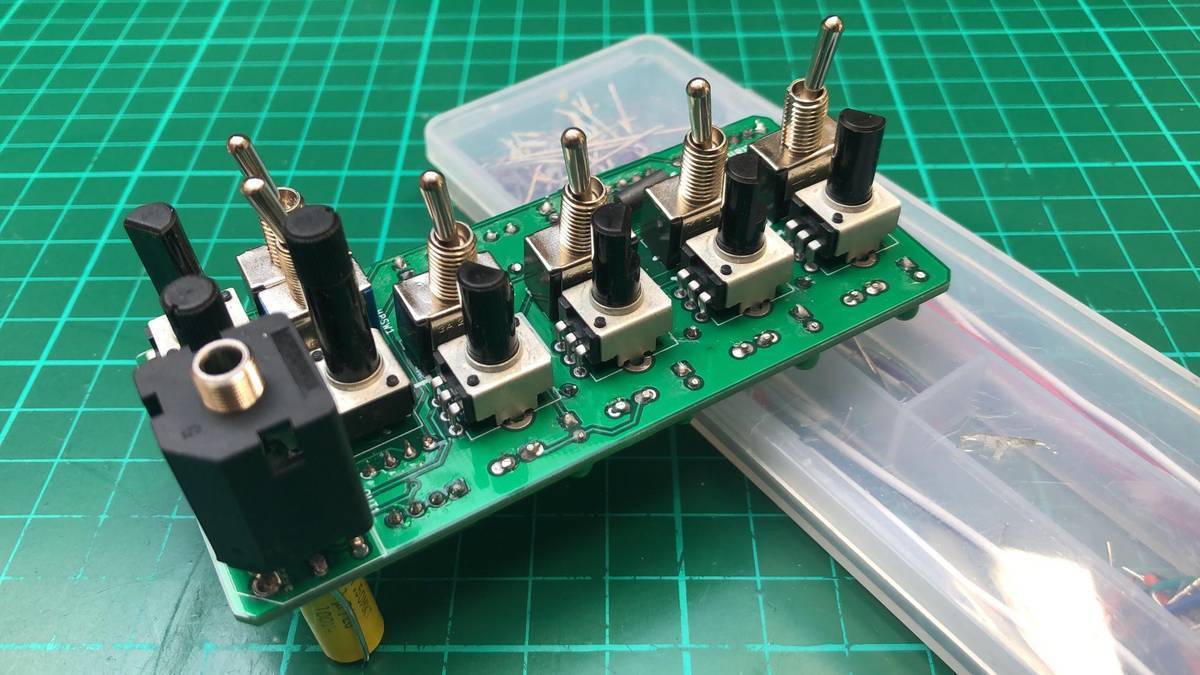 LFO PCB with soldered-on components.
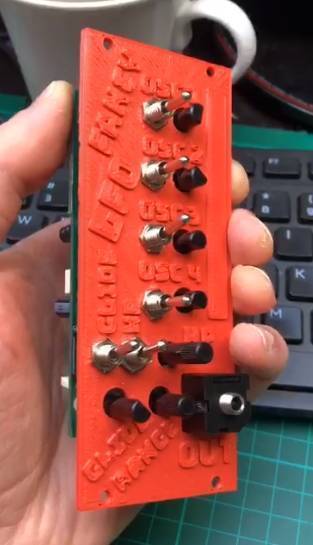 LFO PCB with 3D printed front plate.
Sample Performances
Synthesizer in action: I configured the synthesizer for generating a beefy bass sequence.
Synthesizer in action: Demonstration of my custom-designed kick module.
Synthesizer in action: Synthesizing a simple sequence with drums.
